Blog
Photo Studio Furniture and Fittings - How We Build the Space
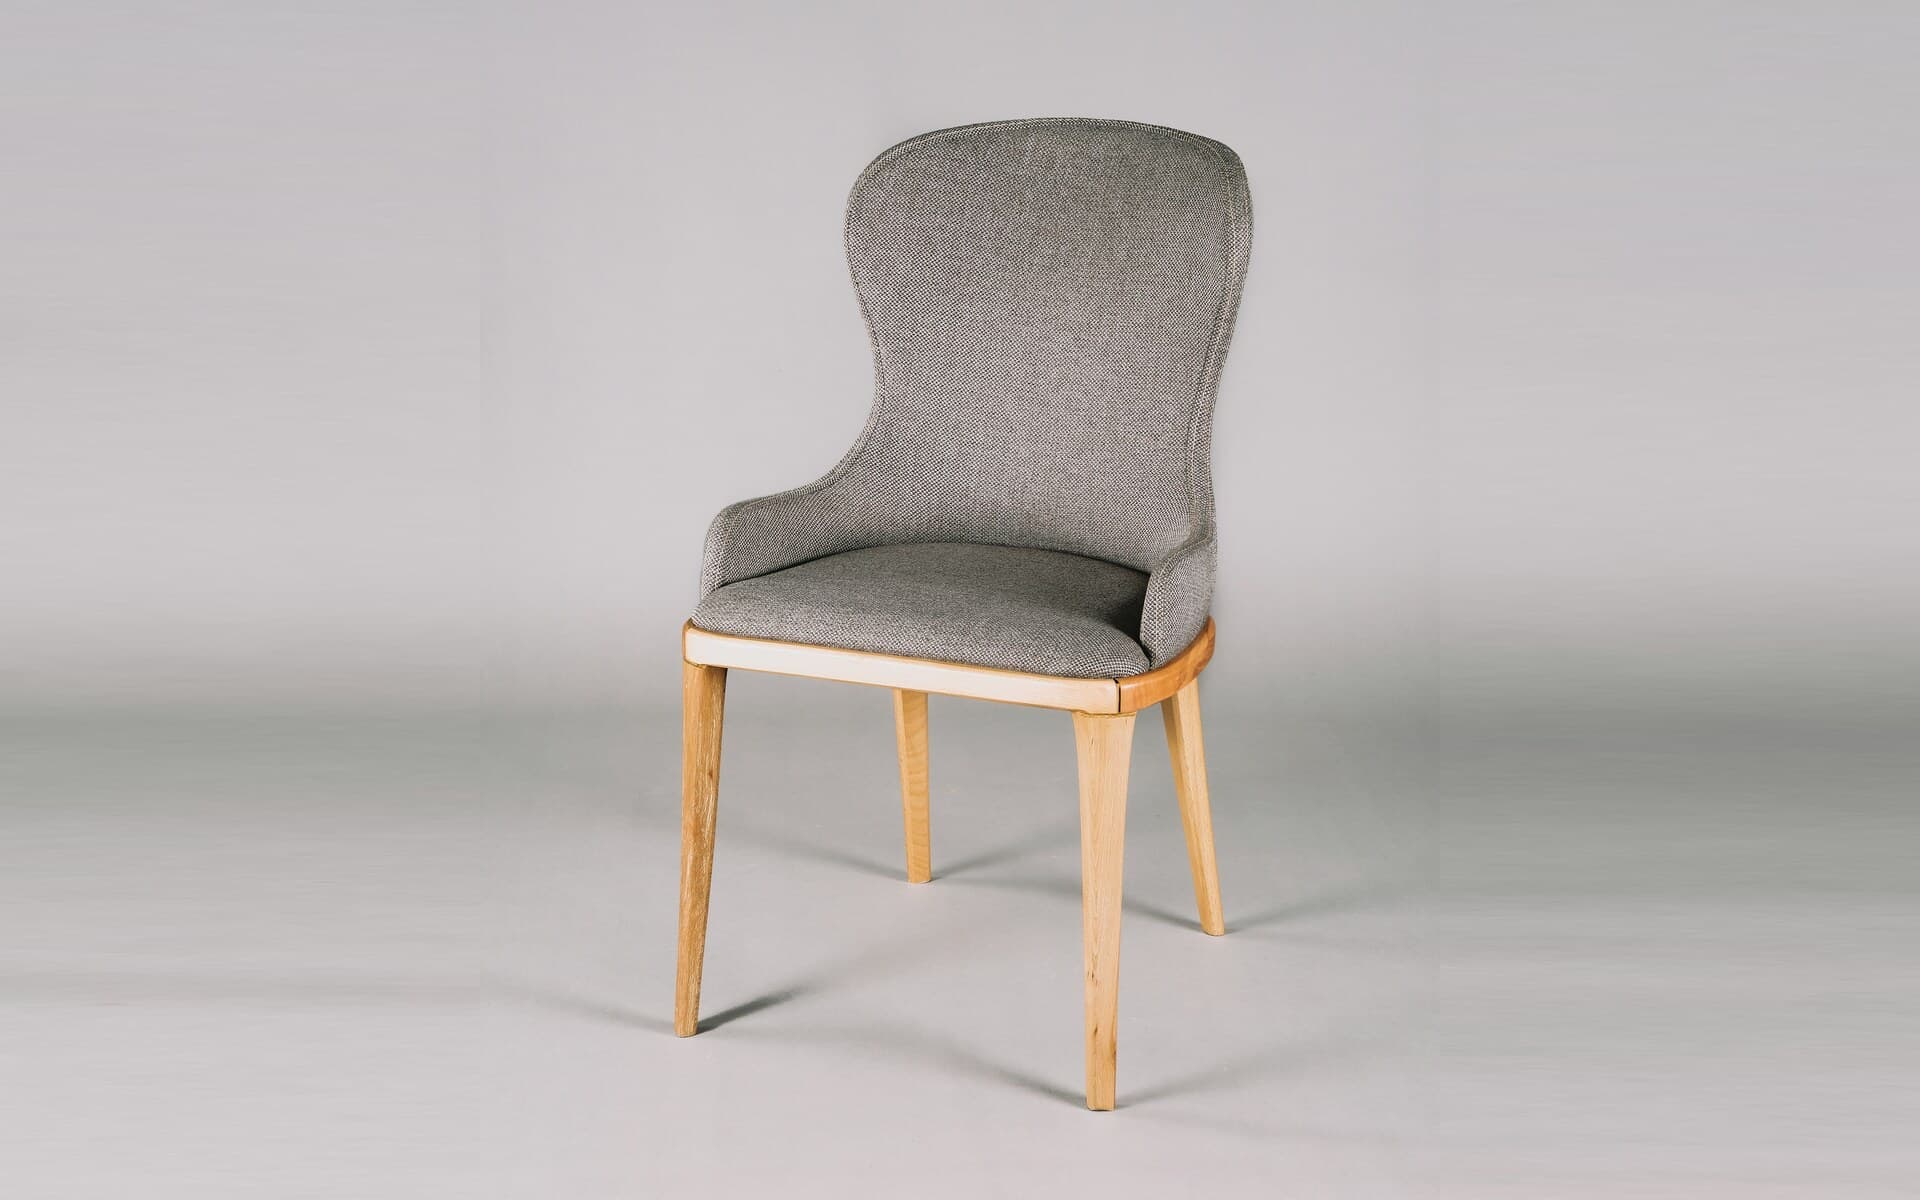
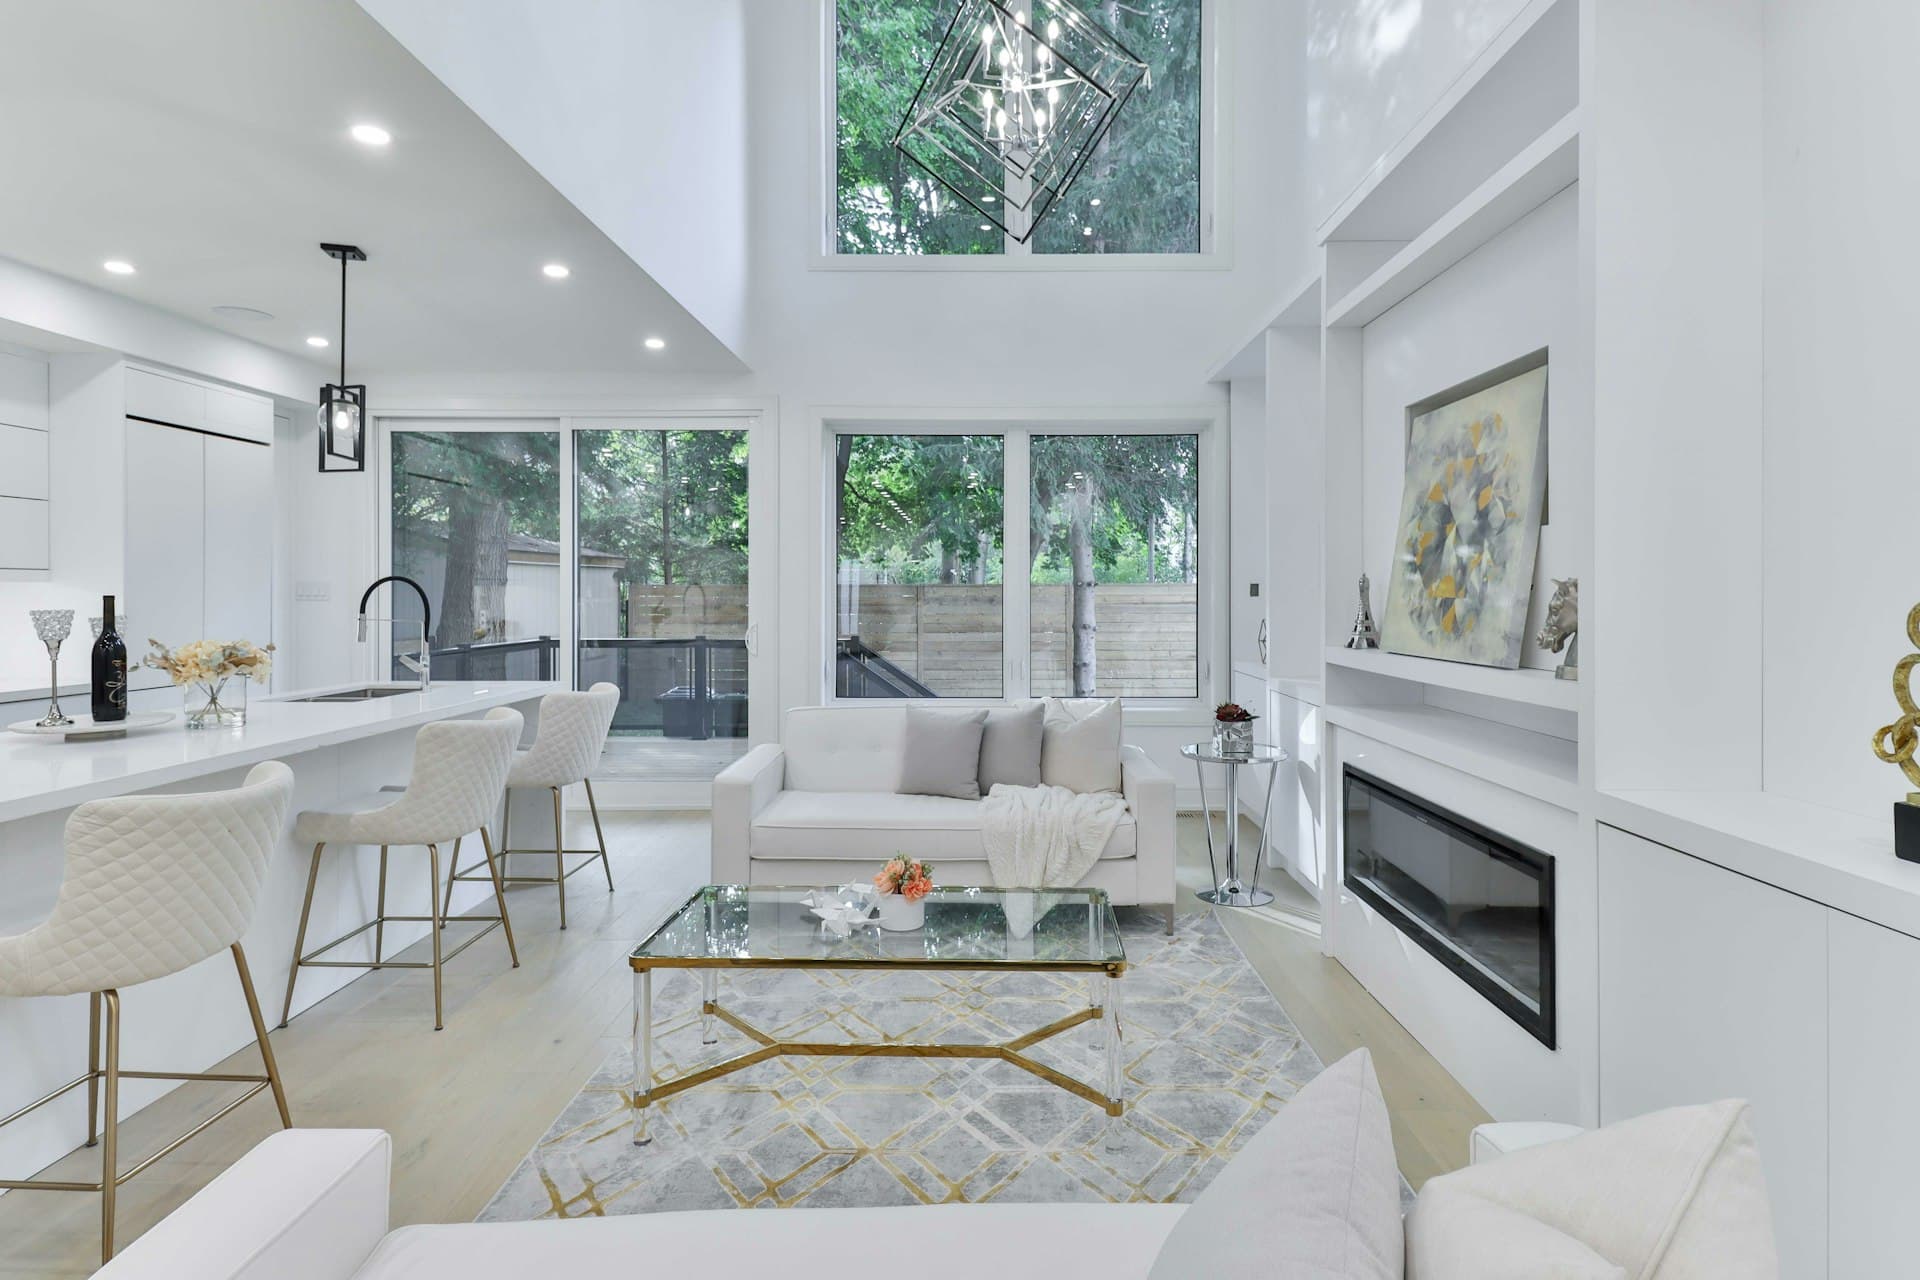
When people talk about building a photo studio, everyone thinks about cameras and lighting. A Profoto head, one more lens, a new softbox. In reality, the thing that shapes a studio's daily work the most sounds far more boring: the furniture and fittings.
Emma Studio started in 2018 with a single room. In 2020 the newborn zone was added, then the video side. At every stage the same lesson repeated itself: gear you buy, furniture you have to build. What follows is the accumulated experience of setting up a studio space.
Furniture that ends up in frame
In an ordinary flat furniture has one job - to be used. In a studio it has a second: it appears in the frame. That changes everything.
A table a child sits on is seen from the camera on both sides - the front panel and the side. Which means the furniture has to be finished on every side, not just the "façade". Screw heads, an unfinished edge, a factory logo on the back panel - all of it shows beautifully in a 50-megapixel frame and costs us time in retouching.
The second detail, which we tend to learn late: glossy surfaces are hostile. Gloss reflects studio light like a mirror and leaves white patches in the frame. Every wooden surface here is matte, with no lacquer.
The third is colour. Light wood or pale grey furniture leaves skin tones neutral. A bright yellow or red surface bounces light back in that same colour and puts a strange cast on a child's face. That is why the studio palette is deliberately boring: white, light oak, grey.
Why off-the-shelf furniture does not work
This is the stage where almost every studio gets it wrong at least once - we did too.
Ready-made furniture is built to the logic of a standard flat. A dining table is 75 cm high because a person sits at it. For product photography the table needs to match the working height of the tripod, so the photographer is not standing hunched over for two hours. That is 90-95 cm, not 75.
The same goes for depth. A background roll is 2.7 metres long and 10-12 cm in diameter when rolled. A normal cabinet cannot hold it vertically, and horizontally the wall is not long enough. You need a narrow, deep, tall section - the kind you simply will not find in a shop.
That is exactly why most studio furniture is made to order. Custom furniture built to exact measurements is the only route when the space is non-standard and the furniture has to serve a specific technical task, rather than the other way round - you should not have to adapt to the furniture.
One practical note: "modifying" ready-made furniture almost always ends up more expensive than having it built correctly from the start. We tested that twice before we believed it.
The newborn zone - a different set of rules
Photographing newborns imposes its own requirements on furniture, and here there is no compromise.
- Every corner rounded. Not "almost", genuinely rounded.
- A surface you can wipe with a damp cloth. A newborn session is a series of unplanned clean-ups.
- Material with no smell. The sharp smell of new board has to be gone within a week, which makes E1-class board and quality edging a matter of principle, not marketing.
- Solidity. A basket, a blanket and a parent are on the same surface at once - it must not wobble.
Our newborn zone opened in 2020 and its furniture was built to exactly those four conditions. It still works as if it had been installed yesterday.
Cake smash and the things that get washed every session
The logic of a cake smash is simple: the child destroys the cake, we photograph it. For furniture that means cream, fruit and moisture land on the surface at every session.
Ordinary laminate does not survive a single season here - the edge swells and the layer peels off. Moisture-resistant board and a properly finished edge are not a comfort in this case, they are the service life.
The product and food table
For product photography the table has to meet three conditions: the right height, stability, and an interchangeable surface.
Stability is critical, because during a long exposure even a slight wobble of the table blurs the frame. We chose a heavy frame fixed to the wall - a free-standing table always moves.
An interchangeable surface means we lay different textures on top of the same table: light wood, concrete effect, white acrylic. One structure, five different backgrounds for food and product work.
Storage - the part that never appears in frame
This is the most underrated part. A studio's inventory keeps growing over time: backgrounds, softboxes, reflectors, newborn props, seasonal decor, a rail for the outfits clients bring.
If none of that has an assigned place, the studio turns into a warehouse within two months and half an hour gets added to the preparation before every shoot. Here is how we solved it:
- Narrow vertical sections for background rolls
- Deep drawers where light modifiers lie flat
- Closed fronts. Open shelving looks great on Pinterest; in a studio it collects dust and creates visual noise in frame.
- A built-in rail for the 2-3 outfits a client brings to the session
What the process looks like in practice
If you are building a working space of your own - a studio, an office, a salon - the sequence looks roughly like this.
First you write the scenario, not the furniture. Where the camera stands, where the client comes in, where the photographer sets up the lights. Only after that does it become clear what size and height of furniture you need.
Then comes measuring on site. In most buildings the walls are not perfectly straight, and a 2 cm difference becomes a problem when a cabinet goes in. That is why serious workshops send a specialist first and only then start the design.
The next stage is 3D visualisation. This is the moment you see that the planned cabinet blocks a window, or that the walkway narrows - before production, not on installation day. Made-to-order furniture works exactly to that logic: consultation, measurement, design approval, production and installation. There are not many workshops in Tbilisi running the full cycle, but there is a choice.
A last piece of advice: plan the furniture last, but do not order it last. Production takes time, and if you have an opening date set, this is the stage that most often runs late.
In short
The quality of a photo studio is measured by the camera, but the comfort of working in one is measured by the furniture. A well-built space saves you 20-30 minutes of preparation per session, and that time stays with the client instead of going into hunting for props.
Emma Studio is at 29 Zovreti Street, and the studio can also be rented by the hour. If you would like to see the space for a project of your own - come by, we will gladly show you how it is put together from the inside.